-
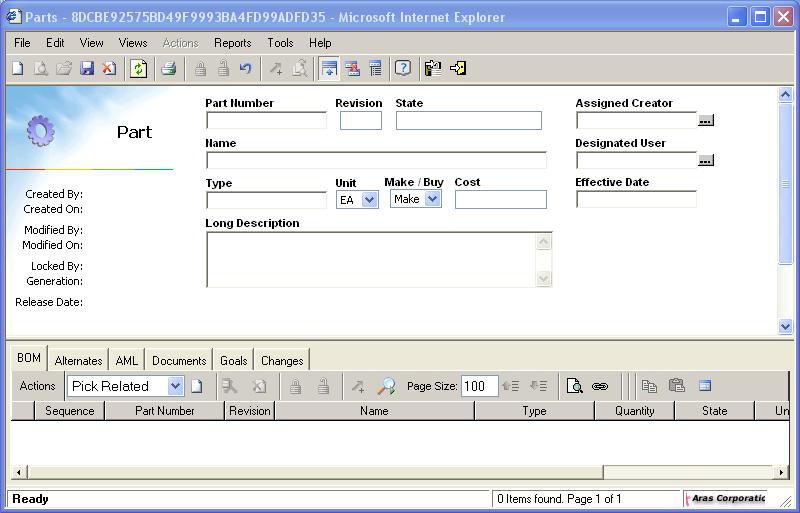
- a unit of measure for the part. Currently this can be either each, inches, feet, millimeters, centimeters, or meters.
-
- designates if the part is made in house, or is bought from a manufacturer.
-
- read only field. The cost is calculated based on the estimated or actual costs of the parts and assemblies in the BOM of the part. It could also be a target cost of the part itself. For more information on Cost, go to Goals.
-
- the long description of the part.
-
- is responsible for the design or the content of the part, usually an engineer and a member of the Component Engineering group Identity. An assigned creator is often identified as the Owner of the item. This may not be the same person who enters the parts data into Innovator and who appears in the field to the left of the screen. There are two ways to enter information into this field.
-
Type in the name of the identity. If you make a mistake, when you leave this field, the error checking will take place, and if no identity to match the typed in text is found, the field will be left blank.
-
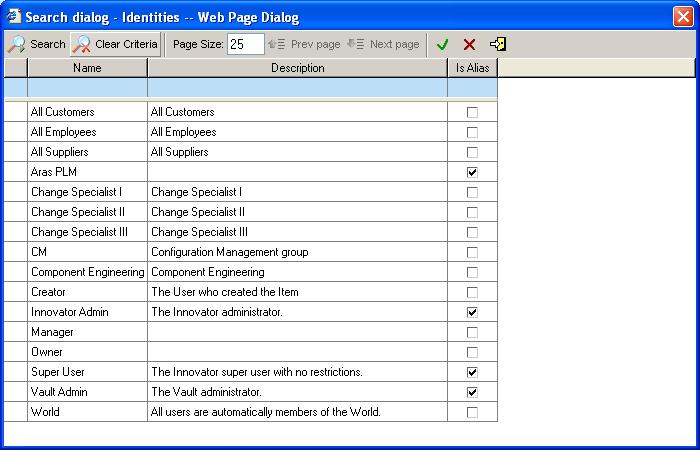
Click on the ellipses  next to the field, which will popup a window of all users that can be selected.

-
If no users appear, click on the  icon. Select the user, then click the green check
  mark to complete the selection.
-
- is responsible for managing, using, and reviewing the part. See the Assigned Creator steps of entering data into this type of field.
-
- the date when this part actually goes into production or whatever process that requires its participation. This is different than the release date, which gets generated automatically when the part reaches the state in its life cycle.
-
 the new Part.


